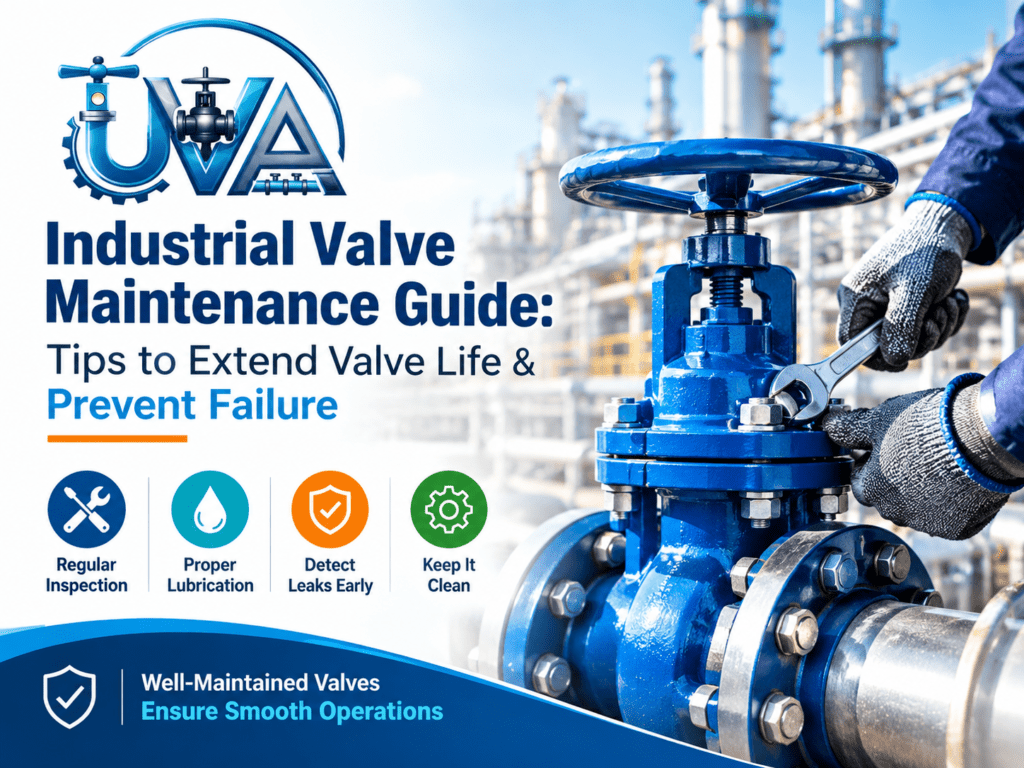
If you operate a plant floor, you already know a valve rarely fails without warning. Valves typically give warning signs before failing, such as a small leak at the stem, a handwheel that suddenly requires more effort, or a pressure reading that drifts half a bar off specification. The plants that detect those signals early are the ones who never need to explain an unplanned shutdown to their head of operations. Those who aren’t are the ones looking up emergency valve repair at 2 a.m.
At Ultra Valves Automation Pvt. Ltd., we’ve spent years supplying and servicing industrial valves across process plants, so we’ve seen both outcomes more times than we can count. This guide collects the industrial valve maintenance tips our service engineers actually use in the field, not generic advice copied from a manual, but the checks, intervals, and habits that genuinely add years to a valve’s working life. We will also spend a significant part of this article on one specific, expensive problem: how to prevent valve leakage before it becomes a shutdown, a safety incident, or a compliance headache.
Why Industrial Valve Maintenance Actually Matters
A valve looks simple from the outside. Open, closed, or throttled somewhere in between. Inside is a precise assembly of seats, seals, stems, and moving parts all working against pressure, temperature, and often corrosive or abrasive media. Each of those elements wears out over time, and none of them fails politely.
Skipping industrial valve maintenance doesn’t just risk one bad valve. It risks:
- Unplanned downtime – a single failed control valve can halt an entire line, and in continuous-process industries, that costs compounds by the hour.
- Safety exposure – a stuck or leaking valve in a high-pressure or hazardous-fluid line is a genuine safety event, not just a maintenance ticket.
- Regulatory and environmental risk – fugitive emissions from leaking valves are increasingly scrutinized, and repeated leaks can trigger compliance action.
- Higher lifecycle cost – replacing a valve early because of neglect almost always costs more than the maintenance that would have prevented it.
The good news is that most valve failures are the result of a few preventable causes. Once you know what to look for, a solid maintenance routine isn’t complicated; it just has to be consistent.
Common Reasons Valves Fail Before Their Time
Before jumping into the maintenance checklist, it helps to know what you’re actually defending against. In our service calls, the recurring culprits are almost always the same:
- Dry or degraded lubrication on the stem, threads, and moving assemblies, causing friction, galling, and eventual seizing.
- Worn or improperly torqued packing, which is one of the single most significant causes of stem leakage.
- Scale, sediment, and debris buildup on the seat and disc, which stops the valve from sealing fully even when it looks closed.
- Corrosion, especially in valves exposed to chemicals, salt-laden air, or moisture—this type of corrosion eats into springs, bolts, and internal surfaces long before it’s visible from outside.
- Incorrect installation or misalignment, which puts uneven stress on seals from day one.
- Valves left idle too long, since gate and ball valves that are never exercised are far more likely to seize or stick when you finally need them.
Almost every industrial valve maintenance tip below exists to counter one of these six problems.
The Core Industrial Valve Maintenance Checklist
Think of the checklist less as a one-time task list and more as a rhythm your team repeats – daily glance, monthly check, and periodic deep inspection.
1. Visual Inspection First, Every Time
A two-minute visual check is the cheapest maintenance you’ll ever do. Walk the line and look for:
- Moisture, staining, or drips around the stem, body joints, and flange connections
- Discoloration or corrosion on the exterior body
- A handwheel or actuator that seems slower or stiffer than usual
- Unusual vibration or noise during operation
Catching a problem here, before it shows up on a pressure gauge, is the difference between a five-minute fix and a full teardown.
2. Lubricate on a Schedule, Not When It Squeaks
Stem threads, stem nuts, and bearing surfaces should be lubricated regularly with grease suitable for your operating temperature and media involved. Waiting for a valve to feel stiff before opening means the damage has already started increased friction, thread wear, and greater torque required to actuate. Don’t rely on how the valve feels when it is operating; set an interval based on duty cycle and manufacturer’s guidance.
3. Check and Adjust Packing Regularly
Packing is the seal around the stem. The packing is subjected to constant mechanical stress every time the valve is actuated. Excessive packing permits fluid to flow along the stem. Tight packing increases stem friction and causes rapid wear. Tighten it to the torque that your manufacturer recommends, and replace it entirely when it gets compressed, hardened, or cracked rather than trying to squeeze another few years out of it.
4. Clean the Seat and Disc Surfaces
Sediment buildup and scale on the seating surface are two of the quieter causes of both leakage and reduced flow. During scheduled downtime, open the valve and check for deposits on the seat and the disk and clean off any deposits. If the sealing surface is pitted or worn, lapping very careful resurfacing can often restore a satisfactory seal without full replacement.
5. Inspect Seals, O-Rings, and Gaskets for Wear
Rubber and elastomer parts degrade from heat, from chemical exposure, and from age, even when there is no apparent problem. Inspect for brittleness, cracking, or flattening and replace on a proactive schedule rather than waiting for a visible leak to develop.
6. Verify Bolt Torque
An over-tightened bolt or an under-tightened bolt causes uneven stress on the seals and gaskets. During inspections, verify bolt torque against the manufacturer’s required values – a single check stops a surprising number of body and flange leaks.
7. Exercise Idle Valves
Gate and ball valves can become stuck after months of being operated in one state or the other. Periodically cycling the idle valves through their full range prevents internal components from binding and provides you an early warning if something is beginning to stick.
8. Calibrate Actuators and Control Systems
Control and automated valves: Check that actuator response time and travel are within specifications and that positioners and sensors are still properly calibrated. A valve that is mechanically acceptable but electronically miscalibrated will still cause process upsets.
9. Keep a Maintenance Log
All inspections, adjustments, repairs, and part replacements should be recorded against the specific valve tag. With time, this log will let you know which valves are wearing faster than expected, when a type of valve always needs early attention, and if your maintenance intervals are actually realistic.
10. Store Spare and Standby Valves Correctly
Valves sitting in inventory are not immune to wear. Store valves in clean, dry, ventilated conditions, avoid direct contact with dust or moisture, and handle them with care during transit, as dropping or bumping a valve can cause hidden internal damage before installation.
How to Prevent Valve Leakage: A Focused Breakdown
Leakage deserves its own section because it’s the single most common reason plants call us in. Understanding where leaks originate makes prevention much more targeted.
Stem leakage happens past the packing or stem seal, usually from worn packing, incorrect torque, or stem surface damage from friction and corrosion. To prevent it, one must adjust the packing correctly, lubricate on a schedule, and inspect the stem surface for scoring during each service interval.
Seat leakage occurs between the seat and the disc, ball, or gate – often invisible from outside since it happens internally, but it shows up as flow or pressure loss even with the valve fully closed. Preventing it means keeping the sealing surfaces clean, checking for wear or pitting regularly, and making sure the valve is rated correctly for the pressure and flow velocity it actually sees.
Body leakage comes through cracks, porosity, or flange connections and is most often tied to installation quality, bolt torque, or long-term corrosion. Preventing it starts at installation – correct alignment, proper torque values, and gaskets rated for the chemical and temperature environment—and continues with periodic bolt-torque checks.
If you’re trying to prevent valve leakage across an entire facility rather than one valve at a time, three habits matter more than any single fix:
- Match the valve to the application. A giant share of leaks trace back to a valve that was never quite right for the pressure, temperature, or chemical exposure it’s handling.
- Don’t defer packing and seal replacement. These are consumable parts by design; treating them as “check again next quarter” items is how small seeps become full leaks.
- Inspect before you need to, not after something drips. Scheduled inspection catches seat wear and stem scoring while they’re still cheap to fix.
Building a Practical Maintenance Schedule
A maintenance plan only works if it fits your actual operating conditions. As a starting framework:
- Daily/Weekly: Quick visual inspection during normal rounds—look, don’t touch.
- Monthly: Lubrication check, packing inspection, and exercising of any idle valves.
- Quarterly: Bolt torque verification, seal and gasket condition assessment actuator calibration review.
- Annually or per shutdown window: Full teardown inspection of critical valves, seat and disc lapping where needed, and packing replacement.
Valves in continuous, high-cycle, or harsh-chemical service should move to tighter intervals than this baseline. Valves in standby or low-duty service can often move to a lighter schedule, provided they’re still exercised periodically.
When to Bring in a Specialist
While most routine industrial valve maintenance can be carried out by in-house teams, there are times when specialist support is really required: a valve that needs precision lapping or resurfacing, a control valve that needs actuator recalibration, valves in hazardous or high-pressure service where a mistake carries real safety risk, or a full plant-wide valve audit ahead of a major shutdown. Ultra Valves Automation Pvt. Ltd. collaborates with process plants to offer comprehensive support, ranging from routine servicing to complete valve automation upgrades, ensuring that teams can make informed decisions without relying on guesswork.
FAQs
1. How often should industrial valves be inspected?
It is contingent upon service conditions, but a reasonable baseline would be a visual examination during regular rounds, a more detailed inspection monthly, and a full teardown annually or during scheduled shutdowns. Valves in continuous, high-pressure, or corrosive service generally require more frequent attention.
2. What’s the most common cause of valve leakage?
Worn or improperly adjusted packing is the most common cause of stem leakage; scale buildup or worn sealing surfaces is the most common cause of seat leakage. Both are generally preventable by routine inspection and timely replacement of parts.
3. Can a leaking valve be repaired, or does it need replacing?
Most leaks can be fixed by replacing the worn parts – packing, seals, O-rings – or by lapping a worn seat – without replacing the whole valve. Generally, full replacement is only necessary if the body itself is cracked or corroded through or the valve is no longer rated for current operating conditions.
4. Does valve maintenance really extend service life significantly?
Yes, substantially. Valves that receive scheduled lubrication, packing adjustment, and inspection routinely outlast neglected valves by years, and they fail far less often in service, which is usually the more expensive outcome anyway.
5. What’s the difference between preventive and reactive valve maintenance?
Preventive maintenance is done on a schedule based on time, cycles, or condition monitoring. It finds a schedule based on time, cycles, or condition monitoring, catching wear before it causes failure. Reactive maintenance only responds after something breaks or leaks, which almost always costs more in downtime and repair scope than the preventive approach would have.
Conclusion
None of the industrial valve maintenance tips in this guide are difficult in themselves – routine inspection, timely lubrication, correct packing adjustment, and knowing where leaks actually originate. The value is in doing them regularly, on a schedule that fits how hard your valves really work, not waiting until something’s already dripping or stuck. When plants consider valve maintenance a routine rather than an option, they experience fewer shutdowns, reduced repair costs, and valves that actually last as long as they’re rated to.
If you would prefer to leave that routine to someone who works on valves every day, Ultra Valves Automation Pvt. Ltd. helps plants with everything from scheduled maintenance and leak diagnostics to full valve automation – get in touch at www.ultravalvesautomation.com to discuss what your facility actually needs.